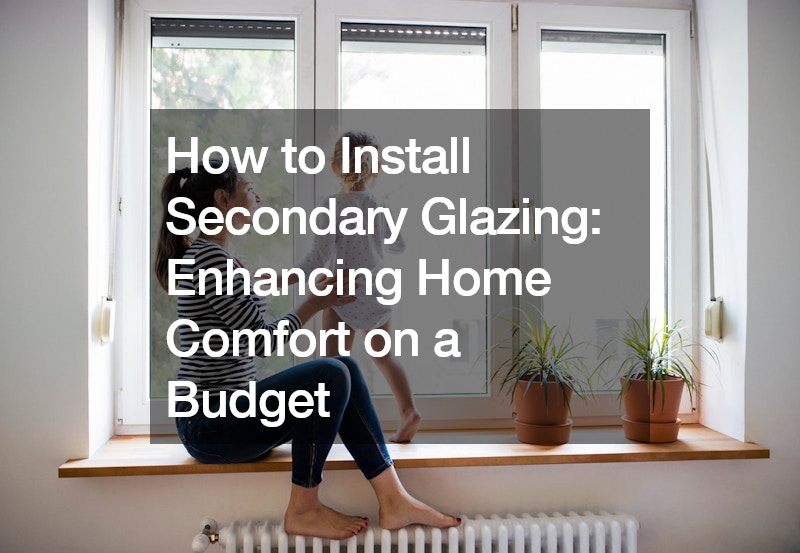
Title: How to Install Secondary Glazing: Enhancing Home Comfort on a Budget

Secondary glazing presents an excellent opportunity to improve the comfort and energy efficiency of your home without breaking the bank. While traditional double glazing can be costly, secondary glazing offers a more budget-friendly alternative that delivers noticeable results. In this guide, we’ll walk you through the process of installing secondary glazing, step by step, so you can enjoy a more comfortable living environment without the hefty price tag.


Video Source

Secondary glazing presents an excellent opportunity to improve the comfort and energy efficiency of your home without breaking the bank. While traditional double glazing can be costly, secondary glazing offers a more budget-friendly alternative that delivers noticeable results. In this comprehensive guide, we’ll walk you through the process of installing secondary glazing, step by step, so you can enjoy a more comfortable living environment without the hefty price tag.

Understanding the Benefits of Secondary Glazing:

Before delving into the installation process, it’s essential to understand why secondary glazing is a worthwhile investment. Unlike double glazing, which involves replacing existing windows with new, double-pane units, secondary glazing involves adding an additional layer of glazing to existing windows. This approach helps improve thermal insulation, reduce noise transmission, and enhance overall comfort levels within the home.

Step-by-Step Guide to Installing Secondary Glazing:

  1. Assess Your Windows: Start by assessing the condition and size of your existing windows. Measure the dimensions carefully to determine the amount of secondary glazing material you’ll need.
  2. Gather Materials: You’ll need a few key materials for the installation process, including PVC channels, double-sided tape, silicone sealant, acrylic panels, timber quad for finishing touches, a saw or utility knife, nails, and a hammer.
  3. Prepare the PVC Channels: Cut the PVC channels to size using a saw or utility knife. Apply double-sided tape to the back of each channel to facilitate installation.
  4. Attach the PVC Channels: Position the PVC channels along the perimeter of your window frames, ensuring a snug fit. Use a level to ensure they’re installed evenly. Secure the channels in place using screws or adhesive tape.
  5. Seal the Edges: Apply a bead of clear silicone sealant along the edges of the PVC channels to create a watertight seal. This will help prevent drafts and moisture ingress.
  6. Install the Acrylic Panels: Cut the acrylic panels to fit within the PVC channels, ensuring they sit flush against the window frames. Use clear silicone sealant to bond the panels to the channels securely.
  7. Finish with Timber Quad: To give your secondary glazing a polished look, attach timber quad around the edges of the acrylic panels using nails or adhesive. Seal the quad with silicone to prevent air leakage.

DIY Tips for Successful Secondary Glazing:

  • Take accurate measurements: Ensure you measure your windows accurately to avoid any issues with the fit of the secondary glazing materials.
  • Use quality materials: Invest in high-quality PVC channels, acrylic panels, and silicone sealant to ensure long-lasting results.
  • Take your time: Installing secondary glazing requires precision and attention to detail. Take your time during each step of the process to ensure a professional finish.
  • Consider ventilation: Remember to leave gaps for ventilation when installing secondary glazing to prevent condensation buildup.

Cost Comparison and Energy Efficiency:

One of the most significant advantages of secondary glazing is its affordability compared to traditional double glazing. While double glazing can cost thousands of dollars, secondary glazing typically costs a fraction of that amount. For example, a DIY secondary glazing project may cost as little as $122 per square meter, making it an attractive option for budget-conscious homeowners.

Furthermore, secondary glazing can significantly improve the energy efficiency of your home, reducing heating and cooling costs in the long run. By adding an extra layer of insulation to your windows, you’ll minimize heat loss during the winter and keep your home cooler in the summer months. This not only translates to lower energy bills but also reduces your carbon footprint.

In conclusion, installing secondary glazing is a practical and cost-effective way to enhance home comfort and energy efficiency. By following the steps outlined in this guide, you can enjoy the benefits of secondary glazing without breaking the bank. Say goodbye to drafty windows and noisy neighbors – secondary glazing has you covered.

Understanding the Benefits of Secondary Glazing:

Before delving into the installation process, it’s essential to understand why secondary glazing is a worthwhile investment. Unlike double glazing, which involves replacing existing windows with new, double-pane units, secondary glazing involves adding an additional layer of glazing to existing windows. This approach helps improve thermal insulation, reduce noise transmission, and enhance overall comfort levels within the home.

Step-by-Step Guide to Installing Secondary Glazing:

  1. Assess Your Windows: Start by assessing the condition and size of your existing windows. Measure the dimensions carefully to determine the amount of secondary glazing material you’ll need.

  2. Gather Materials: You’ll need a few key materials for the installation process, including PVC channels, double-sided tape, silicone sealant, acrylic panels, and timber quad for finishing touches.

  3. Prepare the PVC Channels: Cut the PVC channels to size using a saw or utility knife. Apply double-sided tape to the back of each channel to facilitate installation.

  4. Attach the PVC Channels: Position the PVC channels along the perimeter of your window frames, ensuring a snug fit. Use a level to ensure they’re installed evenly. Secure the channels in place using screws or adhesive tape.

  5. Seal the Edges: Apply a bead of clear silicone sealant along the edges of the PVC channels to create a watertight seal. This will help prevent drafts and moisture ingress.

  6. Install the Acrylic Panels: Cut the acrylic panels to fit within the PVC channels, ensuring they sit flush against the window frames. Use clear silicone sealant to bond the panels to the channels securely.

  7. Finish with Timber Quad: To give your secondary glazing a polished look, attach timber quad around the edges of the acrylic panels using nails or adhesive. Seal the quad with silicone to prevent air leakage.

DIY Tips for Successful Secondary Glazing:

  • Take accurate measurements: Ensure you measure your windows accurately to avoid any issues with the fit of the secondary glazing materials.

  • Use quality materials: Invest in high-quality PVC channels, acrylic panels, and silicone sealant to ensure long-lasting results.

  • Take your time: Installing secondary glazing requires precision and attention to detail. Take your time during each step of the process to ensure a professional finish.

  • Consider ventilation: Remember to leave gaps for ventilation when installing secondary glazing to prevent condensation buildup.

Cost Comparison and Energy Efficiency:

One of the most significant advantages of secondary glazing is its affordability compared to traditional double glazing. While double glazing can cost thousands of dollars, secondary glazing typically costs a fraction of that amount. For example, a DIY secondary glazing project may cost as little as $122 per square meter, making it an attractive option for budget-conscious homeowners.

Furthermore, secondary glazing can significantly improve the energy efficiency of your home, reducing heating and cooling costs in the long run. By adding an extra layer of insulation to your windows, you’ll minimize heat loss during the winter and keep your home cooler in the summer months. This not only translates to lower energy bills but also reduces your carbon footprint.

In conclusion, installing secondary glazing is a practical and cost-effective way to enhance home comfort and energy efficiency. By following the steps outlined in this guide, you can enjoy the benefits of secondary glazing without breaking the bank. Say goodbye to drafty windows and noisy neighbors – secondary glazing has you covered.

.