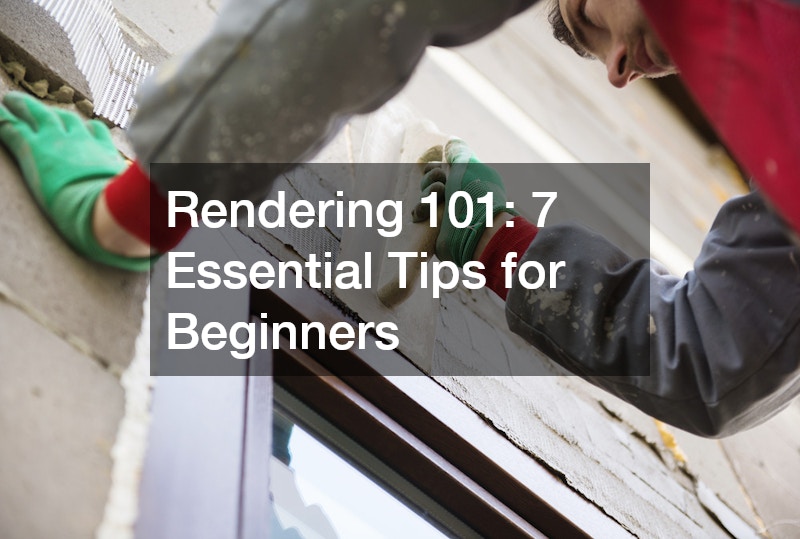
Rendering can totally change up how a building looks, giving it a fresh vibe while also protecting it from the weather. If you’re just starting out and eager to learn this fun craft, picking up some key techniques will really help you shine. Check out these seven tips to help you get amazing rendering results!
1. Avoid Direct Sunlight
One of the most critical factors in successful rendering is the weather. Avoiding direct sunlight during your project is crucial.
When the sun is shining bright, it can cause the render to dry too quickly, leading to cracks and an uneven finish. Overcast days or shaded areas are ideal for working on your render. The cooler conditions allow the render to cure properly and maintain its moisture level. If you must work in the sun, consider using tarps or other coverings to shield your work area.
2. Moisten the Wall
Before applying your render, ensure that the wall surface is adequately moistened. A light spray of water can significantly improve adhesion, preventing the render from drying out too quickly. This moisture helps create a better bond between the wall and the render. However, be cautious not to oversaturate the wall, as excess water can lead to problems with the render adhering properly. A well-hydrated wall promotes a smoother application and reduces the risk of cracking during the curing process.
3. Achieve the Right Mix Consistency
Mixing the render to the right consistency is essential for ease of application. Your mix should be thick enough to hold its shape but not so thick that it becomes difficult to spread. A good rule of thumb is to aim for a creamy consistency that’s easily workable. Testing small batches can help you determine the best mix for your specific project. Remember, the wrong consistency can lead to problems like sagging or uneven surfaces, so take the time to get it right!
4. Use Bead as a Guide
To ensure an even thickness throughout your rendering project, using a bead as a guide can be incredibly helpful. When applying render, work from right to left, using the bead to maintain uniformity. This technique not only helps control the thickness of the application but also promotes a more consistent finish. Beads can also help you manage the amount of render you’re applying, making sure that you don’t overapply in some areas while underapplying in others.
5. Let It Set
Patience is key when it comes to rendering. After applying the render, resist the temptation to fiddle with it. Allow the render to set undisturbed for a while. Use a straight edge to achieve a flat surface, smoothing out any high spots without overworking the material. Over-manipulating the render can disrupt its natural setting process and lead to imperfections. Letting it take up naturally will provide a more professional-looking finish.
6. Timing for Floating
Floating is a critical stage in the rendering process, and getting the timing right can make all the difference. When you float the render, it should be firm enough to hold its shape yet soft enough to allow for texture manipulation. Achieving this balance is vital. If you float too early, you risk indenting the surface, while waiting too long can make it challenging to create the desired texture. Monitor the render closely and work with it at the optimal time for the best results.
7. Fix Low Spots
As you render, keep an eye out for low spots that may appear after ruling. These areas can detract from the overall smoothness and aesthetic of your finished project. It’s important to address any low spots promptly, filling them in with additional render before it dries. This guarantees a consistent surface and prevents the need for additional layers or fixes later on. For those using silicone render, its unique properties allow it to fill in low spots effectively, creating a seamless finish. Regularly stepping back to assess your work can help you spot any imperfections that need immediate attention.
The Bottom Line
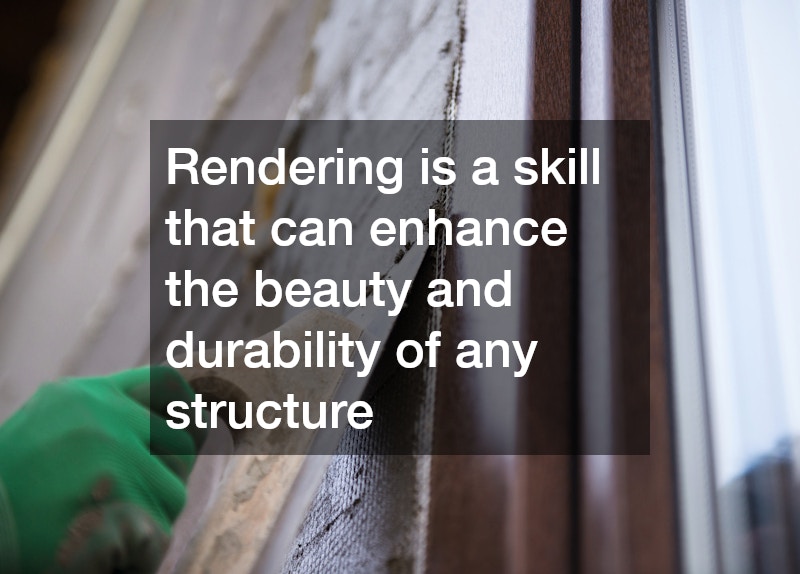
Rendering is a skill that can enhance the beauty and durability of any structure. By following these seven essential tips, beginners can significantly improve their rendering techniques and achieve stunning results. Remember that practice makes perfect; the more you work on your technique, the more comfortable you will become with the process.
Rendering can seem daunting at first, but with attention to detail, the right weather conditions, and a bit of patience, you’ll be well on your way to creating professional-quality finishes. Embrace the learning process and take pleasure in the creative experience of mastering the art of rendering.
.