When a major storm rolls through, the difference between minor cleanup and a devastating repair bill often comes down to decisions made long before the first raindrop falls. Homeowners who invest in specific structural upgrades tend to weather high winds, flooding, and hail with far less damage than those who rely on standard builder-grade materials. This guide walks through the most effective upgrades for storm resilience, from the roof down to the systems buried in your yard. Understanding these options now can save you thousands in repairs and months of disruption later.
Reinforced Roofing Systems That Withstand High Winds
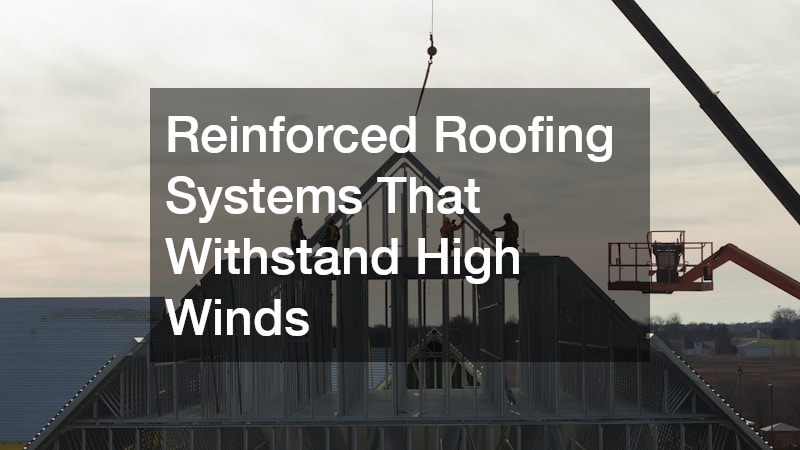
Your roof takes the brunt of any storm, so upgrading its structure and materials is one of the highest-value investments a homeowner can make. Reinforced roofing systems use thicker decking, upgraded fasteners, and wind-rated shingles or metal panels that resist uplift far better than standard installations. Many homeowners don’t realize how much the underlying attachment method matters until they compare a roof that lost shingles in a moderate storm to one that stayed fully intact next door. The details make the difference. Swapping standard 7/16-inch roof decking for 5/8-inch plywood adds rigidity, while ring-shank nails hold sheathing to rafters far more securely than smooth nails, which can work loose under repeated wind uplift. A continuous bead of construction adhesive between the decking and trusses, sometimes called structural gluing, adds another layer of resistance that many builders skip to save time and cost. Materials matter just as much as attachment. Class 4 impact-rated shingles, standing-seam metal roofing, and hurricane-rated tile systems are all engineered and tested to withstand sustained winds of 130 mph or more, compared to roughly 60-80 mph for basic three-tab shingles. Metal panel systems in particular perform well because they’re installed in long, interlocking sections with fewer seams and edges for wind to catch. Don’t overlook the smaller components that hold the system together. Upgraded starter strips, sealed ridge caps, and secondary water barriers under the shingles prevent both wind uplift and the water intrusion that often follows once a roof’s outer layer is compromised. Many insurers now offer premium discounts for roofs that meet these wind-rated standards, which can help offset the upfront cost.
Working with experienced Roofing Contractors during a replacement or upgrade gives you access to engineering knowledge that most DIY approaches miss. A qualified roof installer will assess your local wind zone, roof pitch, and decking condition before recommending specific reinforcement techniques rather than applying a one-size-fits-all fix. That assessment typically translates into concrete upgrades. Hurricane clips or straps, for example, tie the roof trusses directly to the wall studs, allowing a roof to resist uplift forces in winds up to 130-150 mph rather than relying on nails alone. Sealed roof decking, often applied with self-adhering waterproof membrane at the seams, adds a second line of defense if shingles or tiles are torn away during a storm. Material choice matters just as much as installation technique. Impact-rated asphalt shingles, standing-seam metal roofing, and concrete tile are all rated for wind resistance, but their performance depends heavily on proper fastening patterns and underlayment quality. A skilled installer will also check nail placement and spacing, since even a wind-rated product can fail prematurely if it’s under-fastened. Local building codes in high-risk coastal or tornado-prone regions often mandate these reinforcements already, but many older homes were built before those codes took effect. Bringing an existing roof up to current wind-resistance standards is one of the most cost-effective ways to reduce storm damage risk, and it’s a conversation worth having before your next reroofing project rather than after the next major storm.
- Ring-shank nails or screws instead of standard smooth nails for shingle attachment, offering up to twice the pull-through resistance in high winds
- Six nails per shingle instead of the standard four, per manufacturer guidelines for high-wind zones
- Hurricane clips or straps connecting the roof structure to the wall framing, creating a continuous load path from roof to foundation
- Sealed roof decking (taped seams or self-adhering membrane) to prevent water intrusion even if shingles are lost
- Impact-resistant shingles rated Class 4 for hail and wind-borne debris, often qualifying homeowners for insurance discounts
- Wind ratings of 130 mph or higher for shingles installed in coastal or tornado-prone regions
Certified Fortified Roofing Standards and Insurance Benefits
Beyond simply choosing sturdy materials, homeowners in storm-prone regions can pursue certification through a fortified roofing program, which sets specific engineering and material standards designed to reduce storm damage. These programs typically require documented installation methods, sealed roof decks, and enhanced attachment points that go beyond standard building codes. The certification process involves inspection at multiple stages of construction, so it works best when planned from the start of a roofing project rather than added afterward.
Many insurance carriers now offer premium discounts for homes that meet these fortified standards, which can offset the higher upfront cost over a few years of reduced premiums. Homeowners considering this route should ask their contractor whether they are familiar with the specific documentation and inspection requirements, since not every roofing company has gone through the training needed to certify a project properly.
- Sealed roof decking with taped seams to prevent water entry
- Enhanced perimeter attachment for roof edges, which fail first in high winds
- Third-party inspection at the decking, sealing, and final stages
- Potential annual insurance savings that grow over the life of the roof
Impact-Resistant Windows and Reinforced Garage Doors
Wind-driven debris breaking a window or garage door can cause a pressure change inside the home that lifts the roof off entirely, which is why these components deserve as much attention as the roof itself. Impact-resistant glass, laminated with a durable interlayer, can withstand direct hits from debris without shattering into dangerous shards. Reinforced garage doors with heavier tracks and horizontal bracing prevent the large surface area of a garage door from buckling inward under wind pressure.
Retrofitting older homes with storm shutters is a more budget-friendly alternative when full window replacement isn’t feasible right away. Whichever option you choose, make sure every opening on the home is addressed, since a single weak point can compromise the entire structure during a severe event.
Foundation and Drainage Improvements for Flood Resistance
Structural resilience isn’t only about wind; water intrusion around the foundation causes some of the most expensive storm damage homeowners face. Grading the yard so water flows away from the home, installing French drains, and extending downspouts several feet from the foundation all reduce the risk of water pooling against your walls. Staying current on septic tank pumping is another often-overlooked step, since a saturated or backed-up septic system can compound drainage problems and force wastewater closer to the foundation during heavy storms. Homes in low-lying areas benefit significantly from sump pump systems with battery backup, since power outages during storms often coincide with the heaviest rainfall.
Foundation cracks, even hairline ones, can widen over time as water repeatedly seeps in and freezes or expands the surrounding soil. Addressing these early with professional sealing or waterproofing membranes prevents a small issue from becoming a structural one after the next major storm.
Septic System Protection During Heavy Rain and Flooding
Heavy storms saturate the ground, and a septic system that’s already near capacity is far more likely to back up or fail when the water table rises. Scheduling regular septic pumping before storm season reduces the volume of waste sitting in the tank, giving it more capacity to handle the additional groundwater infiltration that heavy rain often causes. Homeowners who skip this maintenance step sometimes find themselves dealing with sewage backup inside the home at the worst possible time.
A reputable septic company can also inspect the tank lid, risers, and drain field for signs of settling or damage that could worsen during flooding. Sticking to a consistent service schedule, and calling in a professional sooner if you notice slow drains or soggy patches near the drain field, keeps the system operating at a safe margin rather than right at its limit when a storm hits.
- Schedule service before the start of storm season in your region
- Ask your provider to check risers and lids for a secure, watertight seal
- Avoid heavy vehicle traffic over the drain field, which compacts soil and worsens flooding
- Watch for early warning signs like gurgling pipes or standing water, and call for service immediately if they appear
Interior Restoration and Protective Finishes After Storm Exposure
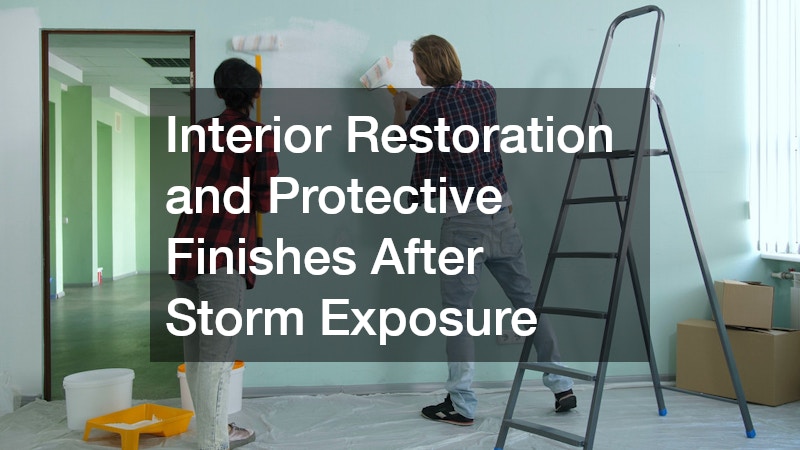
Even a well-protected home can experience minor moisture intrusion during a severe storm, and how you handle the interior afterward affects long-term durability. Drywall that feels slightly soft, trim that looks discolored, or a faint musty smell are all early warning signs worth investigating before cosmetic repairs are made. Addressing these issues within the first 24 to 48 hours significantly reduces the odds of mold taking hold behind walls or under baseboards. Moisture-resistant primers and mold-inhibiting paints help protect drywall and trim in areas that experienced any dampness, even if the damage looks minor at first glance. Look for primers labeled for high-humidity or water-damage applications, as these are formulated to block stains and lingering moisture from bleeding through fresh paint. Pairing them with mildew-resistant topcoats in bathrooms, basements, and other storm-exposed rooms adds another layer of long-term insurance against recurring problems. Hiring interior painting contractors who understand how to properly prep and seal water-affected surfaces prevents future peeling, staining, or mold growth that can appear weeks after a storm has passed. Experienced contractors will typically use moisture meters to confirm a wall has dried to a safe level before painting begins, rather than relying on visual inspection alone. They’ll also know when damaged drywall or insulation needs to be cut out entirely versus simply treated and repainted, which can save homeowners from costly repeat repairs down the road.
Once the structural repairs are complete, attention should turn to the interior finishes that protect walls, ceilings, and trim from the next round of moisture exposure. A qualified painting contractor can recommend finishes suited to humid conditions, which matter more than most homeowners realize in storm-prone climates. This is especially true after a storm has introduced excess moisture into wall cavities, since trapped humidity can linger for weeks even after surfaces look dry. In bathrooms, basements, and other moisture-prone rooms, the right combination of primer and sheen makes a measurable difference. Satin or semi-gloss finishes resist mildew growth and wipe clean more easily than flat paint, while a stain-blocking, mold-resistant primer creates a barrier against future water intrusion. Some contractors also recommend mildewcide additives mixed directly into the paint for rooms with consistently high humidity, such as basements without adequate ventilation. Beyond product selection, proper surface preparation plays a major role in long-term performance. Any drywall that experienced water contact should be tested for residual moisture before repainting, since sealing over damp material can trap humidity and lead to bubbling or peeling within months. Addressing ventilation issues, such as adding exhaust fans or dehumidifiers, alongside these finish upgrades adds another layer of resilience that pays off the next time humidity or minor leaks become an issue.
Smart Storage Solutions That Reduce Storm-Related Losses
Protecting the structure of your home is only part of storm preparedness; protecting your belongings matters too, especially in homes without a basement or storm-safe room. Custom home storage solutions, such as elevated shelving in garages or utility rooms, keep valuable items off the floor where flooding is most likely to occur. Built-in closets and cabinetry designed with weather-resistant materials also hold up better in humid post-storm conditions than standard particleboard furniture.
Thinking through storage placement before a storm hits, rather than scrambling during an evacuation warning, makes a real difference in what you’re able to save. Simple changes like raising storage shelves a foot or two off the ground can prevent thousands of dollars in losses from even minor flooding events.
Storm resilience isn’t the result of a single upgrade but a combination of decisions made across your roof, foundation, systems, and interior finishes. Start by identifying the weakest points in your home, whether that’s an aging roof, a septic system overdue for service, or a garage door that flexes in high wind, and prioritize upgrades accordingly. Consulting with qualified professionals for each system ensures the work meets current standards and actually performs when tested. Taking these steps now means facing the next major storm with confidence instead of dread.