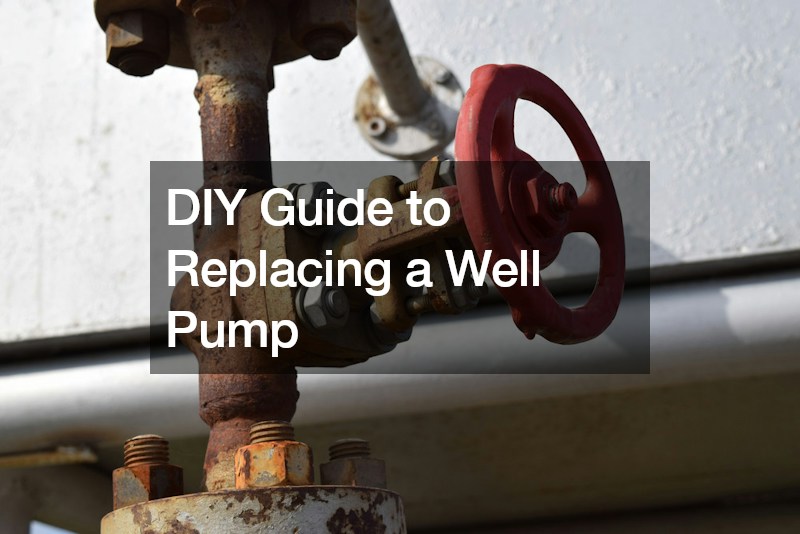
Maintaining a reliable water supply is crucial for homeowners with well systems, and understanding the DIY process of well pump replacement can save both time and money.
Begin by turning off the well’s power supply to ensure safety during the replacement process. Identify the pressure switch and pressure tank, disconnect the electrical wiring, and release any residual pressure before removing the old well pump.
Once the well pump has been successfully removed, thoroughly inspect the well casing. Look for any damage or debris hindering the new well pump’s performance. Measure the depth of the well to determine the appropriate size for the replacement pump, ensuring compatibility with the well’s specifications.
Carefully lower the new well pump into the well casing, secure it with the necessary fittings, and ensure proper alignment with the drop pipe.
With the new well pump securely in place, reconnect the electrical wiring, taking care to follow the manufacturer’s instructions for a safe and reliable connection. Prime the pump by pouring water into the well casing until it reaches the pump intake, ensuring the system is properly lubricated before restoring power.
Finally, test the system by running water in the house to confirm the well pump substitution was successful and monitor for any signs of leaks or irregularities in water pressure. Following these simple DIY steps ensures a smooth and effective well pump replacement, providing homeowners with a reliable water source for years.
.